
Meant to do this a long time ago, but better late than never. Here are the threads that have discussed light bars:
Anyone running a light bar?
Aux driving lights
Spot Lights
Rally lights?
Light bar can't be wired up to work
(If I missed any I'll add later)
Mods not sure if these can be combined, or if it's even necessary, but just wanted to put everything in one place.
A year and a half ago I was on a mission to find the brightest LED light bar for the money for night driving purposes. I think it was posted several times, but my first RS was totaled by a rather large elk - I won’t post it again but you can find it easily by searching for “elk rs crash” on youtube or possibly here. My search started well before that of course and I had a very bright light bar on the car by elk time, but there was no warning at all. Basically the more light you’re projecting at night - especially if driving in a spirited manner - the better. I had close calls long before the elk and since, and they’ll continue to happen.
Anyway, as I started my light bar research I noticed there weren’t any good review sites. I’m not talking objective, no-advertising sites like consumer reports or thewirecutter.com, there really wasn’t anything except a really old site that catered to non-LEDs. A few others, but nothing comprehensive. So I did a ton of research on every reasonable light I could find, and put it all in a spreadsheet here.
Several things were apparent up front:
-Rigid seemed to be the clear industry leader, super high quality but with very pricy
-There were several others such as VisionX which were said to be of high quality, but needed to be ordered from overseas which would complicate what I was trying to do - order a bunch of them, then return the ones I didn't want/others didn't want, etc. There seemed to be enough good lights available from distributors within the U.S. anyway.
-Most of the sub-$100/ebay ones could put out flood light, but it takes power & quality design to project and that costs money
-Black Oak LED seemed to be an interesting case where they had basically copied just about everything from Rigid, with the same or very close extreme high quality, and were selling for about half the price. At close to $600 they would have the most expensive light I would buy.
For testing I selected the three best sub-$100 lights that had good reviews, a quality middle of the road option, and two Black Oaks for top of the line. At that point in time, from reading all the reviews and looking at all the specs, I just couldn't justify spending a grand on Rigid, no matter how great they may be. That may have changed though, as I just took a look at Rigid's site and looks like they've been up to some amazing things. In case you hadn't noticed yet, all this stuff is about a year old, and it'll be up to you to fill in what's happened over the last year or so. Or me, but don't have time at the moment and trying to get this out due to @BigFatFlip 's nagging.")
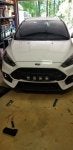
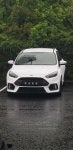
I actually have to get going now, but we did take some very not good pics which seem to have degraded over the past year even further, but at least should give you some comparison. The three cheap ones are really only flood - they are better than nothing if you're going slow, I guess. #4 - they are numbered same as listed in the excel spreadsheet - the Speed Demon was the cheapest light considered acceptable, but did the job. Looks like it may have been aimed low in that pic. #5 was a bad pic, in real life it was better than #4, and it was the Black Oak single row. I still have #4 & #5 and am running the Black Oak - so yeah, that pic is bad... don't look at that. #6 was the Black Oak double row and had by far the most light output. Unfortunately it was either stolen or more likely fell off the front bumper of my STI at the North Sand Dunes showing Jeeps up - as long as you have clearance it's all about the power - but yeah I wish I had that one back.
I ran into some health problems and never returned any of them; gave a cheap one to a buddy, have two more cheap ones to give away or close. Willing to sell #4 at a good discount, and in fact same with #5 because...
One thing I learned is that you get what you pay for, and that light output... these lights are worth their weight in gold. The more light, the further in the distance you can catch those eyes, the better chance of not wrecking, totalling, killing an animal, yourself, or a passenger. In the past month I've seen over 120 large animals, had a deer dive in front of me, tuck & roll (if not for left foot braking he'd be dead and might have some decorations on my bumper cover) just under the front lip. I will say this about the really bright lights though - several times I've had large bucks start to charge the car for a moment before backing off. I'm very familiar with "deer in the headlights" but something about the intensity has made a couple of the start to come at the car which makes for a very puckering moment, but lasts less than a second and they take off.
By the way not trying to push those lights on anyone, just mentioning if interested. They've been sitting in my basement for a year and a half and will have no issue staying there. Oh and as to why I'd be willing to sell the best remaining light I have that's currently on my car: once you experience the light these put out, how much more you can see, and how much safer it is, you want more. I never imagined I'd keep a close to $600 light, and now that's the bare minimum. If I sell that one I may even test out a Rigid. All I know is that the light on my car has paid for itself many times over, and projecting light is something I'm willing to fork over the cash for as much as tires.
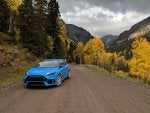
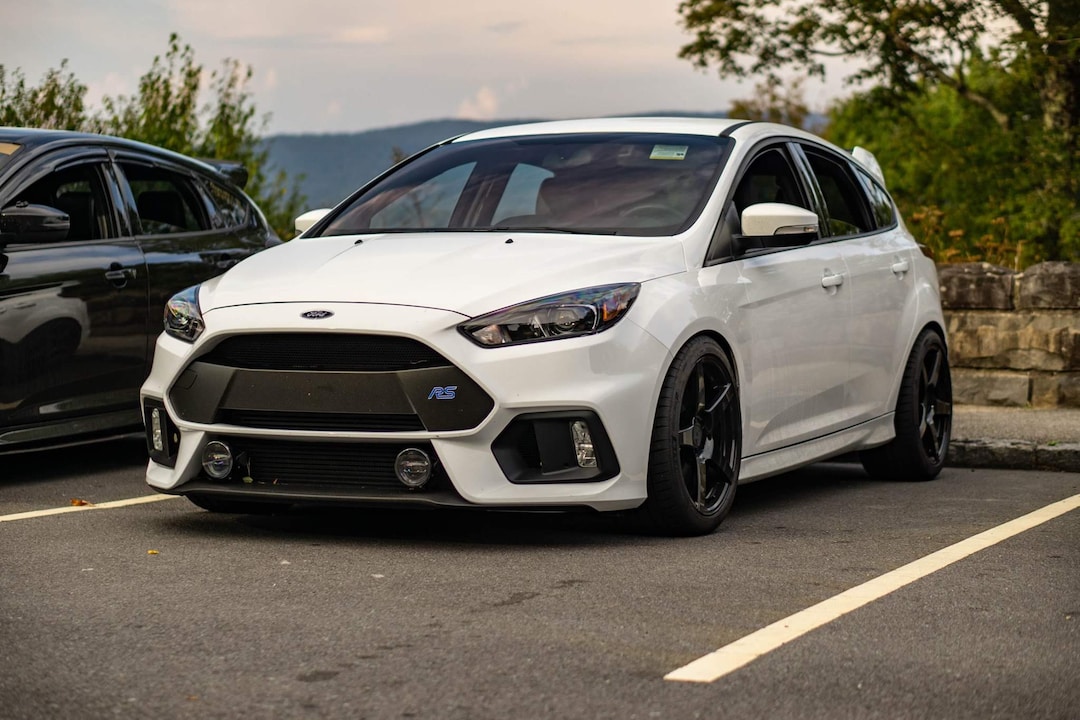
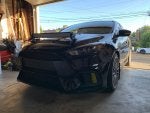
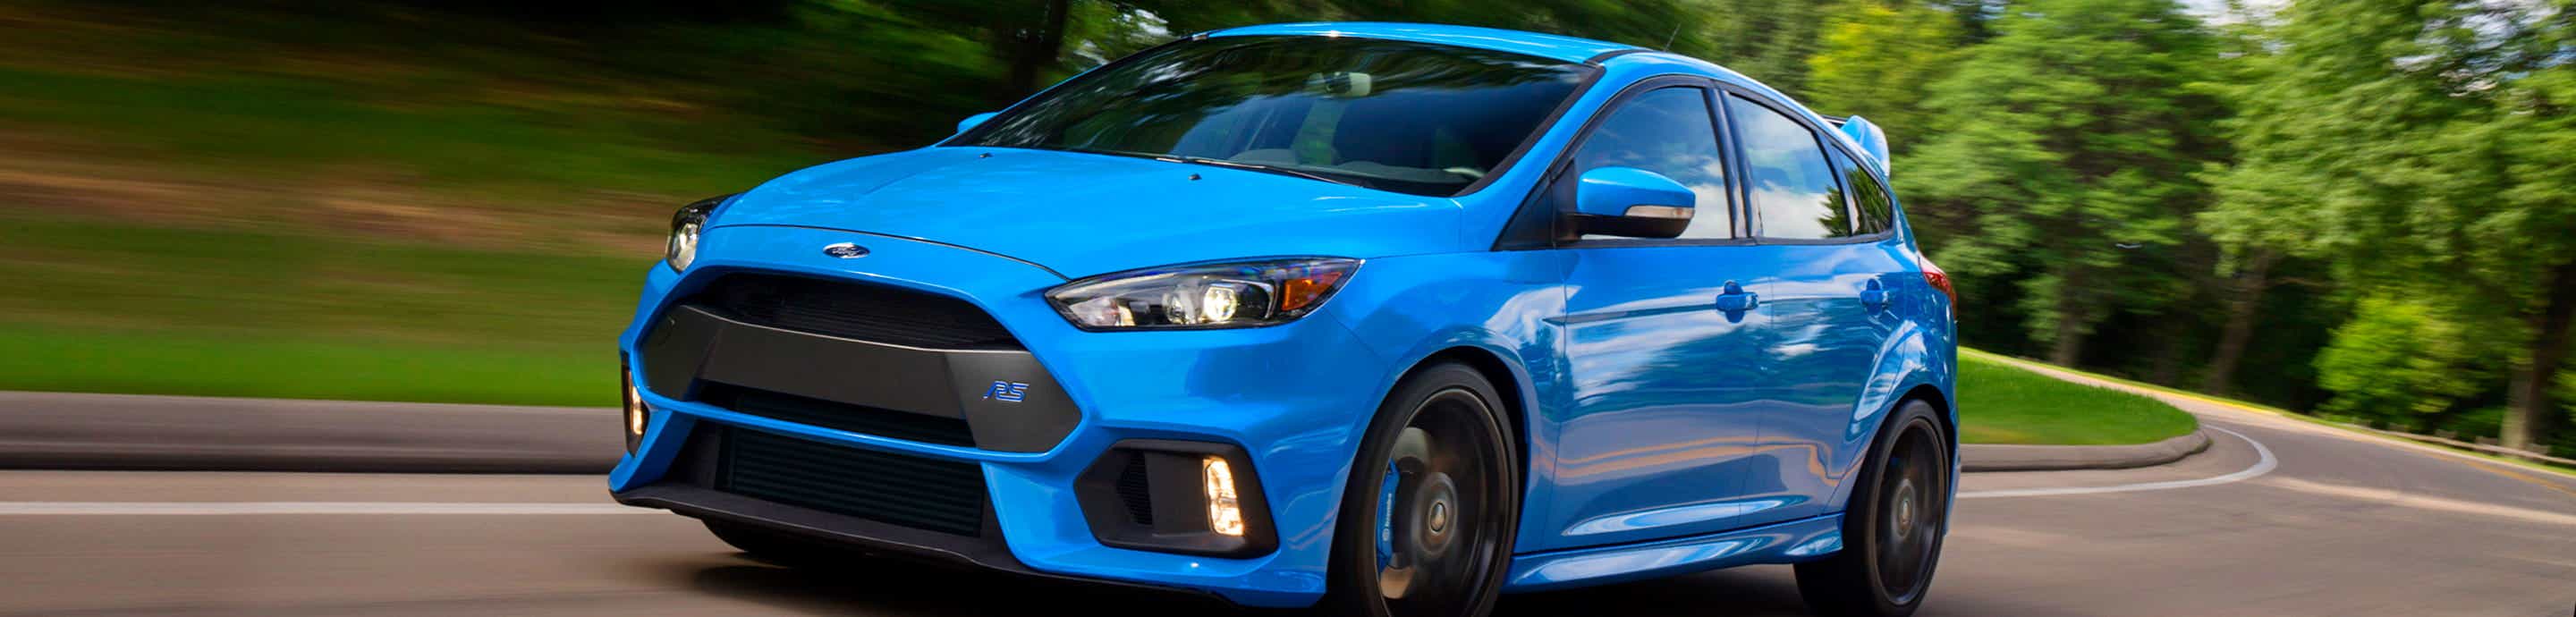
Some pics:
![]()
Few more here: https://drive.google.com/open?id=1vrwj7fvCql3W7QlVr2tE7ZkW3vYC7-eV
I gotta run, but will post a simple wiring diagram for people to wire the light bar to their brights (thought I saw mention of CANBUS - not needed) - this may have already been explained but I know when I go to wire something it's easiest if I have a diagram to look at. Then I'll try to catch up on what's happened over the past year or so. Anyone who has updated info feel free to post, tell me I'm full of crap, etc. Thought I had a couple other things but will get to the later. Thanks again @BigFatFlip for reminding me about this - I have several more posts that need to be made (lift and something else I think) but will get there.
Anyone running a light bar?
Aux driving lights
Spot Lights
Rally lights?
Light bar can't be wired up to work
(If I missed any I'll add later)
Mods not sure if these can be combined, or if it's even necessary, but just wanted to put everything in one place.
A year and a half ago I was on a mission to find the brightest LED light bar for the money for night driving purposes. I think it was posted several times, but my first RS was totaled by a rather large elk - I won’t post it again but you can find it easily by searching for “elk rs crash” on youtube or possibly here. My search started well before that of course and I had a very bright light bar on the car by elk time, but there was no warning at all. Basically the more light you’re projecting at night - especially if driving in a spirited manner - the better. I had close calls long before the elk and since, and they’ll continue to happen.
Anyway, as I started my light bar research I noticed there weren’t any good review sites. I’m not talking objective, no-advertising sites like consumer reports or thewirecutter.com, there really wasn’t anything except a really old site that catered to non-LEDs. A few others, but nothing comprehensive. So I did a ton of research on every reasonable light I could find, and put it all in a spreadsheet here.
Several things were apparent up front:
-Rigid seemed to be the clear industry leader, super high quality but with very pricy
-There were several others such as VisionX which were said to be of high quality, but needed to be ordered from overseas which would complicate what I was trying to do - order a bunch of them, then return the ones I didn't want/others didn't want, etc. There seemed to be enough good lights available from distributors within the U.S. anyway.
-Most of the sub-$100/ebay ones could put out flood light, but it takes power & quality design to project and that costs money
-Black Oak LED seemed to be an interesting case where they had basically copied just about everything from Rigid, with the same or very close extreme high quality, and were selling for about half the price. At close to $600 they would have the most expensive light I would buy.
For testing I selected the three best sub-$100 lights that had good reviews, a quality middle of the road option, and two Black Oaks for top of the line. At that point in time, from reading all the reviews and looking at all the specs, I just couldn't justify spending a grand on Rigid, no matter how great they may be. That may have changed though, as I just took a look at Rigid's site and looks like they've been up to some amazing things. In case you hadn't noticed yet, all this stuff is about a year old, and it'll be up to you to fill in what's happened over the last year or so. Or me, but don't have time at the moment and trying to get this out due to @BigFatFlip 's nagging.
I actually have to get going now, but we did take some very not good pics which seem to have degraded over the past year even further, but at least should give you some comparison. The three cheap ones are really only flood - they are better than nothing if you're going slow, I guess. #4 - they are numbered same as listed in the excel spreadsheet - the Speed Demon was the cheapest light considered acceptable, but did the job. Looks like it may have been aimed low in that pic. #5 was a bad pic, in real life it was better than #4, and it was the Black Oak single row. I still have #4 & #5 and am running the Black Oak - so yeah, that pic is bad... don't look at that. #6 was the Black Oak double row and had by far the most light output. Unfortunately it was either stolen or more likely fell off the front bumper of my STI at the North Sand Dunes showing Jeeps up - as long as you have clearance it's all about the power - but yeah I wish I had that one back.
I ran into some health problems and never returned any of them; gave a cheap one to a buddy, have two more cheap ones to give away or close. Willing to sell #4 at a good discount, and in fact same with #5 because...
One thing I learned is that you get what you pay for, and that light output... these lights are worth their weight in gold. The more light, the further in the distance you can catch those eyes, the better chance of not wrecking, totalling, killing an animal, yourself, or a passenger. In the past month I've seen over 120 large animals, had a deer dive in front of me, tuck & roll (if not for left foot braking he'd be dead and might have some decorations on my bumper cover) just under the front lip. I will say this about the really bright lights though - several times I've had large bucks start to charge the car for a moment before backing off. I'm very familiar with "deer in the headlights" but something about the intensity has made a couple of the start to come at the car which makes for a very puckering moment, but lasts less than a second and they take off.
By the way not trying to push those lights on anyone, just mentioning if interested. They've been sitting in my basement for a year and a half and will have no issue staying there. Oh and as to why I'd be willing to sell the best remaining light I have that's currently on my car: once you experience the light these put out, how much more you can see, and how much safer it is, you want more. I never imagined I'd keep a close to $600 light, and now that's the bare minimum. If I sell that one I may even test out a Rigid. All I know is that the light on my car has paid for itself many times over, and projecting light is something I'm willing to fork over the cash for as much as tires.
Some pics:

Few more here: https://drive.google.com/open?id=1vrwj7fvCql3W7QlVr2tE7ZkW3vYC7-eV
I gotta run, but will post a simple wiring diagram for people to wire the light bar to their brights (thought I saw mention of CANBUS - not needed) - this may have already been explained but I know when I go to wire something it's easiest if I have a diagram to look at. Then I'll try to catch up on what's happened over the past year or so. Anyone who has updated info feel free to post, tell me I'm full of crap, etc. Thought I had a couple other things but will get to the later. Thanks again @BigFatFlip for reminding me about this - I have several more posts that need to be made (lift and something else I think) but will get there.